What’s this all about?
The goal is to migrate the process automation project (see my previous article Docker, Kubernetes, and Co. – part II) to the new Camunda flagship – Camunda 8. I’ll skip k0s installation entirely; it’s already up and running on my local machine. For details, see https://docs.k0sproject.io/
Let’s get it running
Here is the documentation: https://docs.camunda.io/docs/self-managed/about-self-managed/. Following the documentation, I’ll install Camunda 8 Helm chart and see if it works just out of the box.
First caveat encountered – repository name already in use
Obviously, my fault; after I’d done some work with Camunda 7, I already had the respective repository in my Helm repository list, so I had to give it a different name – c8:
helm repo add c8 https://helm.camunda.io
Now my repository list looks like this:
olegme@master-node:~$ helm repo list
NAME                           	URL
nfs-subdir-external-provisioner	https://kubernetes-sigs.github.io/nfs-subdir-external-provisioner/
postgres-operator-charts       	https://opensource.zalando.com/postgres-op...
postgres-operator-ui-charts    	https://opensource.zalando.com/postgres-op...
camunda                        	https://helm.camunda.cloud
c8                             	https://helm.camunda.io
Second caveat encountered – it takes time
Following the documentation from Camunda, I used the nice –atomic feature of Helm, but after several attempts realized that on my machine, it doesn’t finish on time and gets removed, so this is the command that worked at the end:
helm install c8 --atomic --timeout 20m0s --debug c8/camunda-platform -n c8
The above command sets the timeout to 20 minutes and the namespace to c8. After that – happiness:
NAME                                READY   STATUS    RESTARTS       AGE
c8-identity-54c6559c86-b6m96        1/1     Running   0              107m
c8-keycloak-0                       1/1     Running   0              107m
c8-operate-846bdf577b-vqm86         1/1     Running   1 (104m ago)   107m
c8-optimize-745bc47ff6-85pxc        1/1     Running   0              107m
c8-postgresql-0                     1/1     Running   1 (35m ago)    107m
c8-tasklist-6bc5cc4c44-n864z        1/1     Running   1 (104m ago)   107m
c8-zeebe-0                          1/1     Running   0              107m
c8-zeebe-gateway-86885f7fcb-8ptqf   1/1     Running   0              107m
elasticsearch-master-0              1/1     Running   0              107m
A critical message – the Helm chart does not control physical volumes and physical volume claims, so they have to be manually removed every time before re-deployment.
What’s next?
Accordingly to the documentation (and to the installation script’s lengthy output), now it’s time to run several kubectl port-forward commands to make the components of the installation accessible from the outside of our k0s Cloud. But I don’t like the idea, so – let’s get cracking!
Let’s customize the chart
The way to customize a help chart is simple; we pass an additional manifest file to the Helm install command, like here:
helm install c8 c8/camunda-platform -n c8 -f manifests/values_c8_small.yaml
Now comes the funny part: What do we put into this file? The first idea would be to reduce the amount of resources to allocate. It will help the deployment time and also eliminate possible deployment failures in case of resource shortage, like too weak local hardware.
Make it smaller
Two ideas here, let’s have fewer zeebe engines and let’s reduce our elasticsearch instance.
zeebe:
  clusterSize: 1
  partitionCount: 1
  replicationFactor: 1
  pvcSize: 10Gi
Here we reduce the cluster size to just one zeebe instance.
And the smaller elasticsearch instance:
  # Allocate smaller chunks of memory per pod.
  resources:
    requests:
      cpu: "100m"
      memory: "512M"
    limits:
      cpu: "1000m"
      memory: "512M"

  # Request smaller persistent volumes.
  volumeClaimTemplate:
    accessModes: [ "ReadWriteOnce" ]
    storageClassName: "nfs-client"
    resources:
      requests:
        storage: 15Gi
Please note that the complete resource file will be posted below.
Port forward, Ingres, load balancer… WTF?
When the helm deployment finishes, it will suggest using a number of kubectl port-forward commands to access your Camunda 8 installation. I didn’t like it and decided to look for a better solution. I played around using separate IP addresses for different PODs that need a connection to the outside world but dropped the idea as I found it too complicated. Finally, I decided to go with what is described here https://docs.camunda.io/docs/self-managed/platform-deployment/helm-kubernetes/guides/ingress-setup/#separated-ingress-setup as a Separated Ingress Setup.
Ingress setup
There is one pre-condition, an ingress controller has to be already installed in our Kubernetes cluster. Then the necessary configuration will be applied automatically during the installation process of other components. Here is a link to learn more about an NGINX-based ingress controller: https://www.nginx.com/products/nginx-ingress-controller/. There are other implementations out there, but this is the simplest one.
When everything is deployed, there will be a server (NGINX) listening on the external IP address of our cluster master-node, which will forward incoming connections to the respective PODs depending on the URL.
Cheating on the DNS resolution
To enable the above, the simplest way on my local laptop machine is to manipulate the DNS resolution to create a few DNS records pointing to the same IP address. Namely, the one of my master-node (controller). In my particular case, I decided to edit my hosts file located in C:\Windows\System32\drivers\etc. I added a few more records to it:
192.168.2.241 camunda-example
192.168.2.241 identity.camunda-example
192.168.2.241 keycloak.camunda-example
192.168.2.241 operate.camunda-example
192.168.2.241 optimize.camunda-example
192.168.2.241 tasklist.camunda-example
192.168.2.241 zeebe.camunda-example
192.168.2.241 is the IP address of my master-node (controller), and these hostnames can actually be anything; they just need to match the configuration in the helm chart used to deploy Camunda 8. BTW, a reboot is not required after the changes to hosts file; they will be picked up automatically by almost everything.
Almost there…
And, finally, the chart. The one we will be used to modify the default values.
global:
  identity:
    auth:
      publicIssuerUrl: "http://keycloak.camunda-example/auth/realms/camunda-platform"
      operate:
        redirectUrl: "http://operate.camunda-example"
      tasklist:
        redirectUrl: "http://tasklist.camunda-example"
      optimize:
        redirectUrl: "http://optimize.camunda-example"

identity:
  ingress:
    enabled: true
    className: nginx
    host: "identity.camunda-example"
  fullURL: "http://identity.camunda-example"

  keycloak:
    ingress:
      enabled: true
      ingressClassName: nginx
      hostname: "keycloak.camunda-example"

operate:
  ingress:
    enabled: true
    className: nginx
    host: "operate.camunda-example"

optimize:
  ingress:
    enabled: true
    className: nginx
    host: "optimize.camunda-example"

tasklist:
  ingress:
    enabled: true
    className: nginx
    host: "tasklist.camunda-example"

# Reduce for Zeebe and Gateway the configured replicas and with that the required resources
# to get it running locally
zeebe:
  clusterSize: 1
  partitionCount: 1
  replicationFactor: 1
  pvcSize: 10Gi

zeebe-gateway:
  replicas: 1
  ingress:
    enabled: true
    className: nginx
    host: "zeebe.camunda-example"

# Configure elastic search to make it running for local development
elasticsearch:
  replicas: 1
  minimumMasterNodes: 1
  # Allow no backup for single node setups
  clusterHealthCheckParams: "wait_for_status=yellow&timeout=1s"

  # Allocate smaller chunks of memory per pod.
  resources:
    requests:
      cpu: "100m"
      memory: "512M"
    limits:
      cpu: "1000m"
      memory: "512M"

  # Request smaller persistent volumes.
  volumeClaimTemplate:
    accessModes: [ "ReadWriteOnce" ]
    storageClassName: "nfs-client"
    resources:
      requests:
        storage: 15Gi
What does it do? It configures the ingress controller to provide access to different PODs under different URLs. And this is it.
Access our new shiny Camunda cluster
This is easy. After we run
helm install c8 c8/camunda-platform -n c8 -f manifests/values_c8_small.yamland wait some 5 10 minutes, we can see all PODs up and running:
olegme@master-node:~$ kubectl get pods -n c8 -o=custom-columns='NAME:metadata.name,STATUS:.status.phase,IP:.status.podIP,NODE:.spec.nodeName'
NAME                                STATUS    IP             NODE
c8-identity-54c6559c86-b6m96        Running   10.244.2.25    slave-node2
c8-keycloak-0                       Running   10.244.2.26    slave-node2
c8-operate-846bdf577b-vqm86         Running   10.244.0.215   slave-node3
c8-optimize-745bc47ff6-85pxc        Running   10.244.0.214   slave-node3
c8-postgresql-0                     Running   10.244.1.36    slave-node1
c8-tasklist-6bc5cc4c44-n864z        Running   10.244.3.20    slave-node4
c8-zeebe-0                          Running   10.244.2.27    slave-node2
c8-zeebe-gateway-86885f7fcb-8ptqf   Running   10.244.1.34    slave-node1
elasticsearch-master-0              Running   10.244.1.35    slave-node1
Actually, the one which takes the longest time is Keycloack. It needs PostgreSQL, which takes time and, in some rare cases, fails to be installed properly. Still, I saw just one reason for failure – not properly discarding PVC and the respective volumes.
And here is the respective ingress configuration:
olegme@master-node:~$ kubectl get ing -n c8
NAME               CLASS   HOSTS                      ADDRESS         PORTS   AGE
c8-identity        nginx   identity.camunda-example   192.168.2.241   80      3h50m
c8-keycloak        nginx   keycloak.camunda-example   192.168.2.241   80      3h50m
c8-operate         nginx   operate.camunda-example    192.168.2.241   80      3h50m
c8-optimize        nginx   optimize.camunda-example   192.168.2.241   80      3h50m
c8-tasklist        nginx   tasklist.camunda-example   192.168.2.241   80      3h50m
c8-zeebe-gateway   nginx   zeebe.camunda-example      192.168.2.241   80      3h50m
Let’s use it…
Actually, we won’t be using it for real just yet; let’s leave it to the following article. Here we provide just some screenshots. As we kept the demo/demo user on our helm chart, we can use it at the beginning.
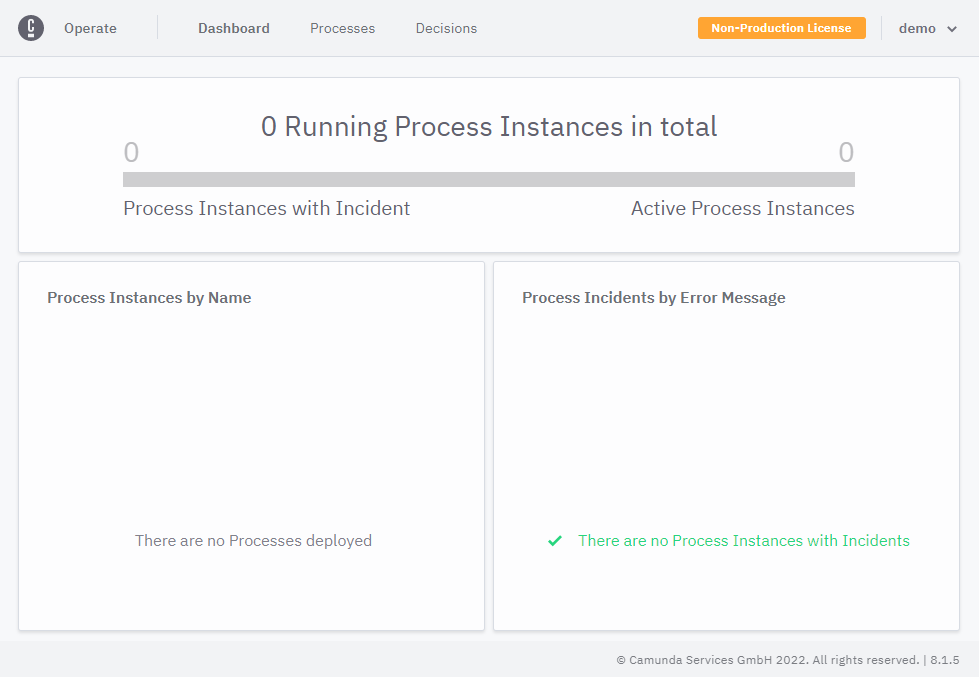
Operate
Obviously, we go to http://operate.camunda-example
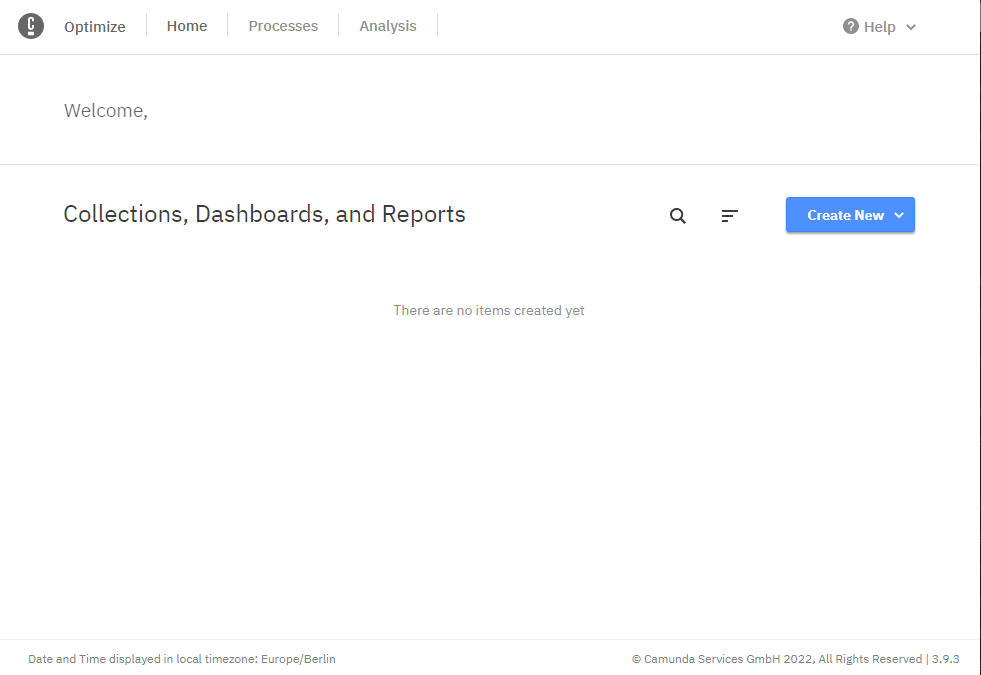
Optimize
Similarly: http://optimize.camunda-example. Well, that’s boring…
Identity
Same as before: http://identity.camunda-example
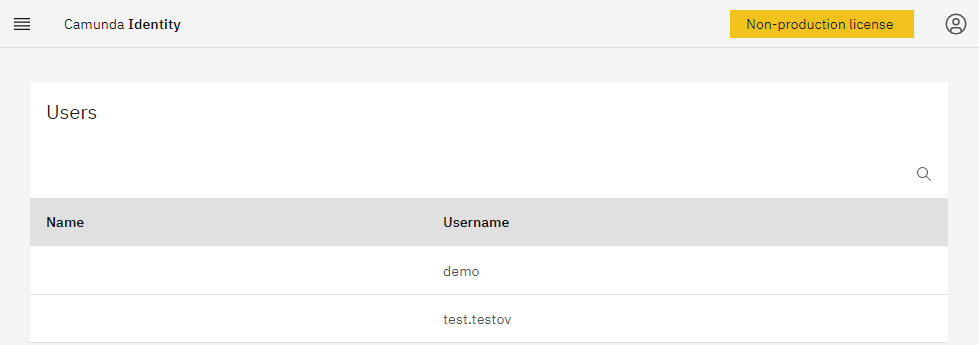
Note an additional user I created just for fun. Still, it had to be created using the keycloack administrative UI. Camunda 8 Identity application cannot do it yet.
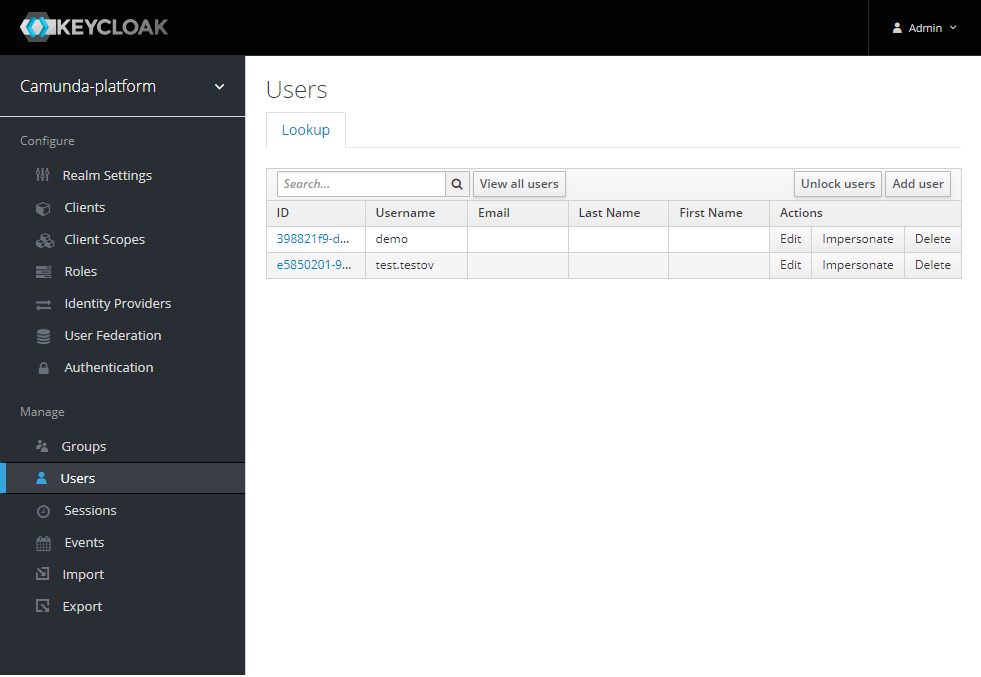
Keycloack admin UI
Accessible here: http://keycloak.camunda-example/. Admin credentials are created automatically; the user name is admin, the password is random and must be retrieved from the keycloack POD environment variables.
Some useful commands
Install chart:
helm install c8 c8/camunda-platform -n c8 -f manifests/values_c8_small.yamlUninstall:
helm uninstall c8 -n c8Delete the respective Persistent Volume Claims that are not getting deleted automatically:
kubectl delete pvc --all -n c8Discussion
We got it up and running; that’s it. Let’s proceed to the next part – make use of it. Here you go – Make use of my local Camunda 8 cluster
One last thing to note – we are doing all this in a local environment, which is not accessible from the outside of the local network. All used IPs are non-routable/private IPs per RFC 1918, and that’s why I haven’t paid any attention to the security of my setup.